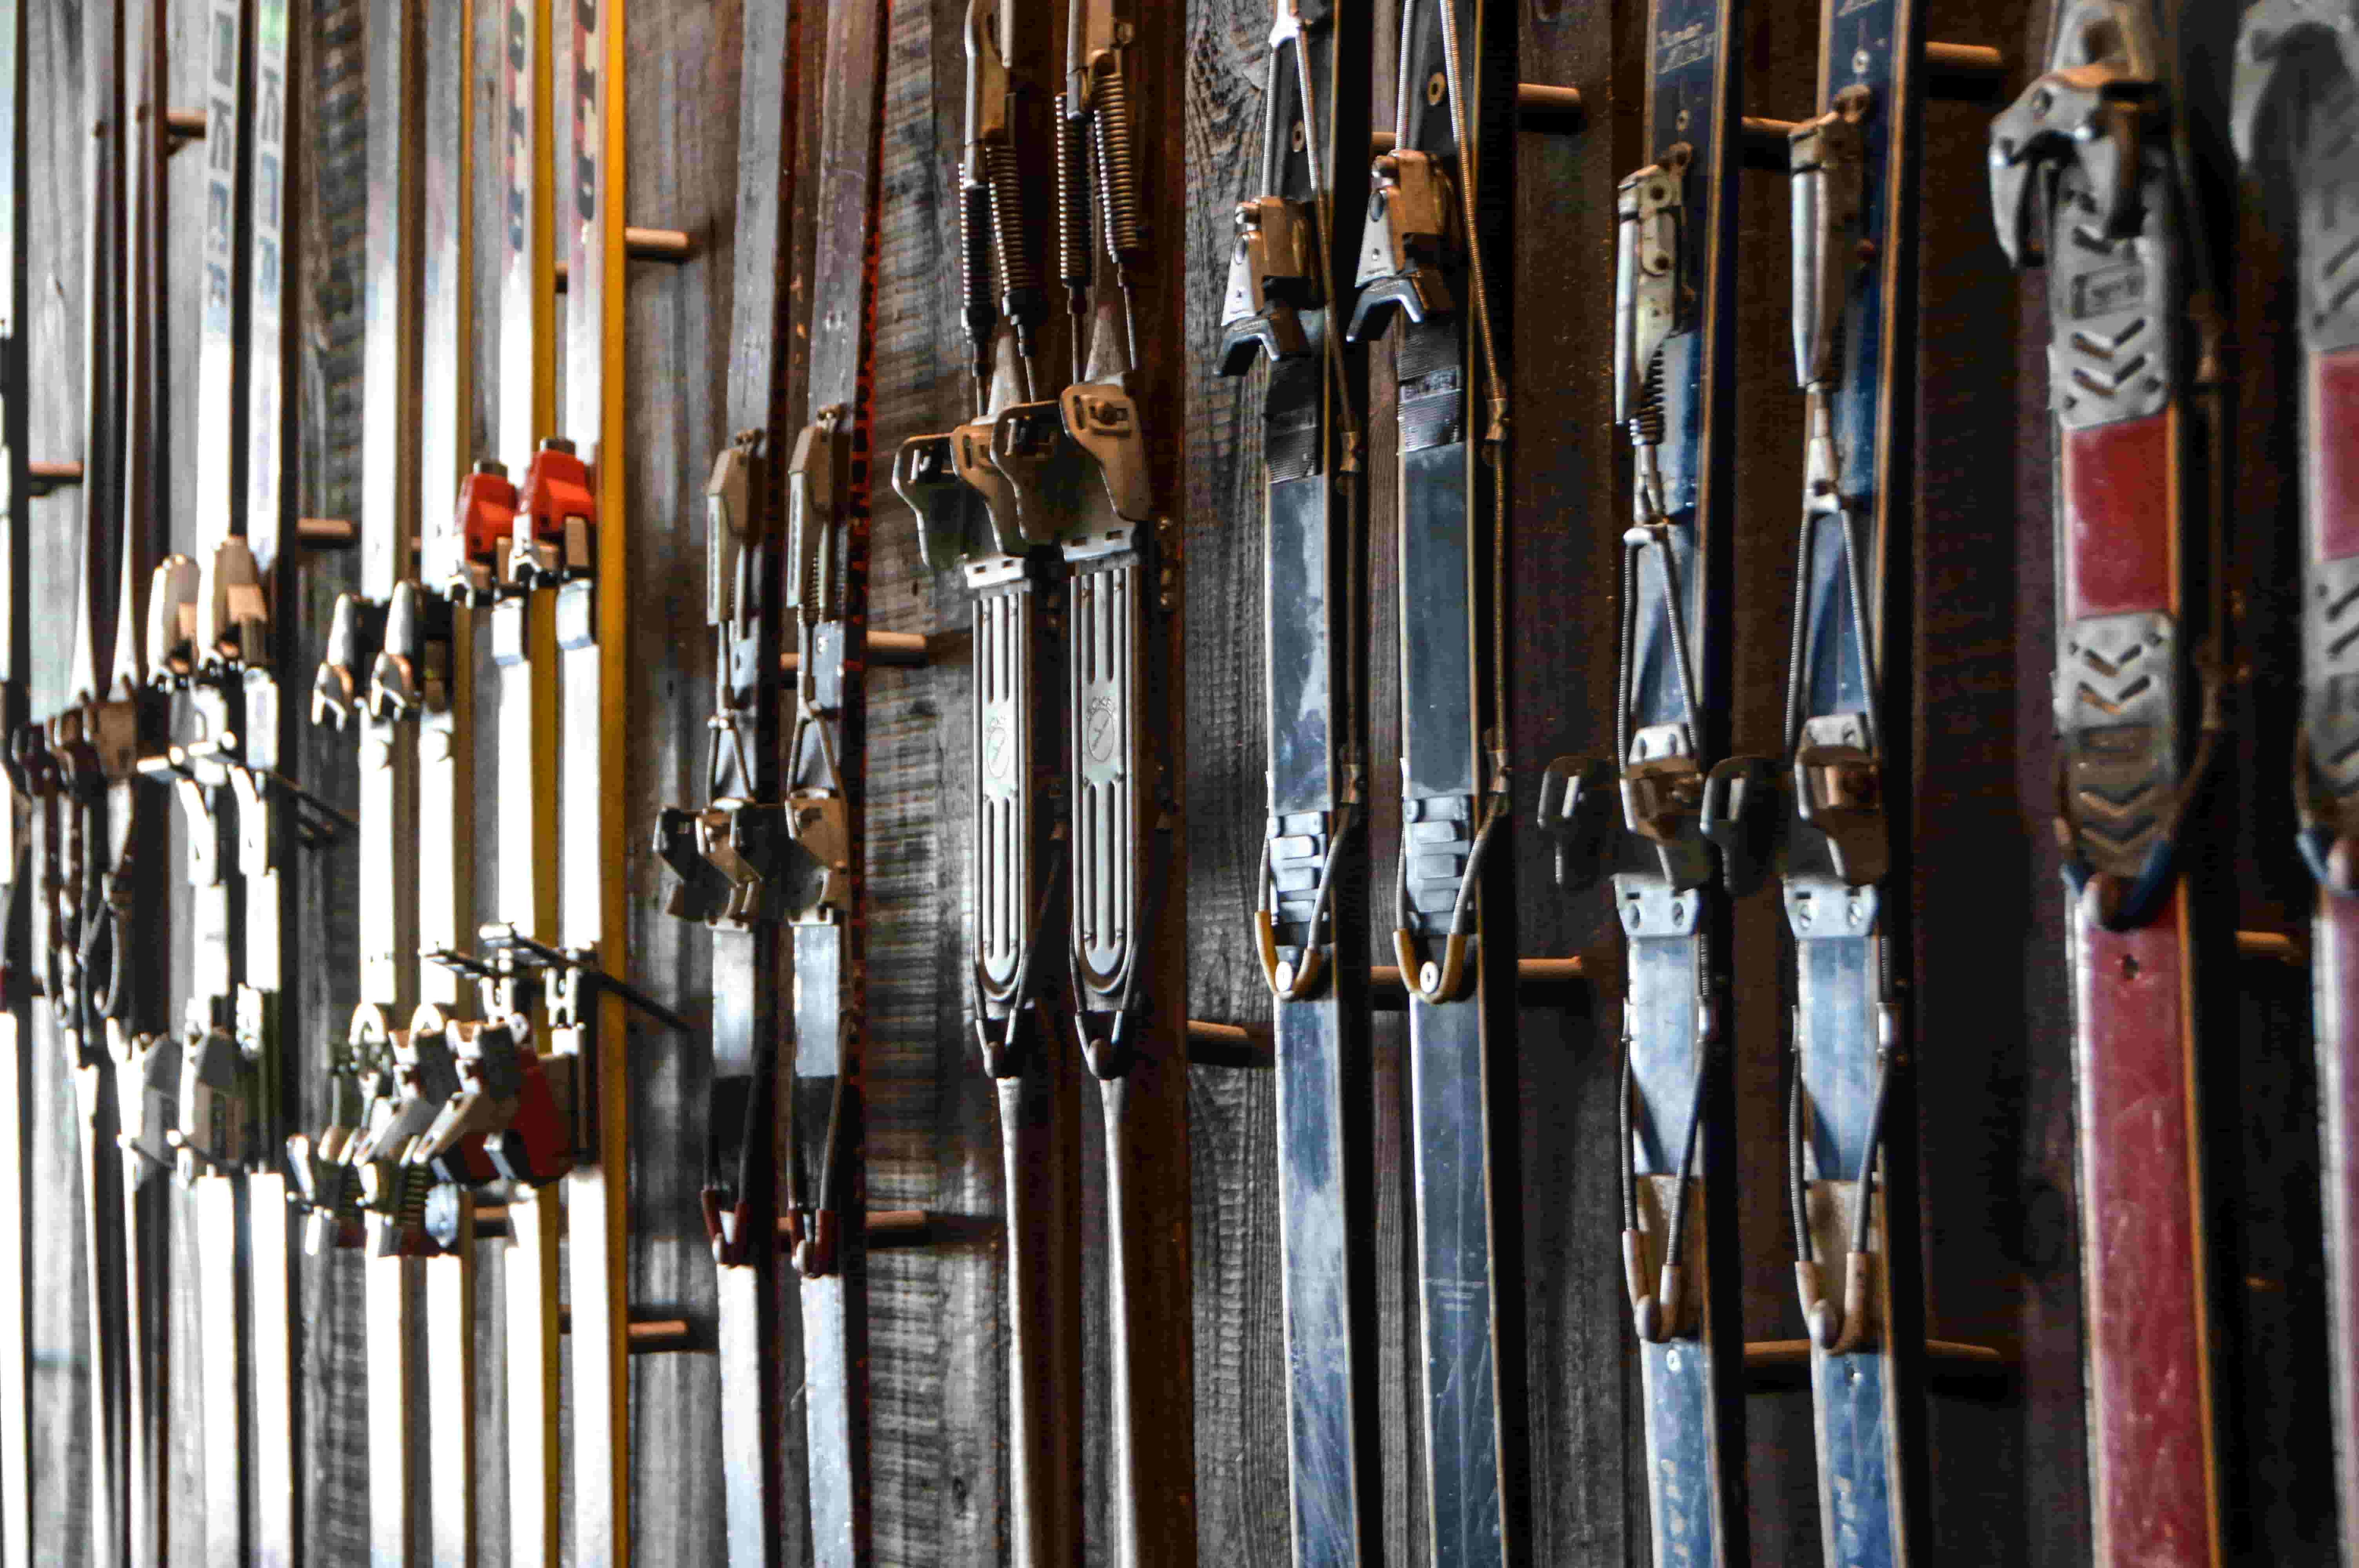
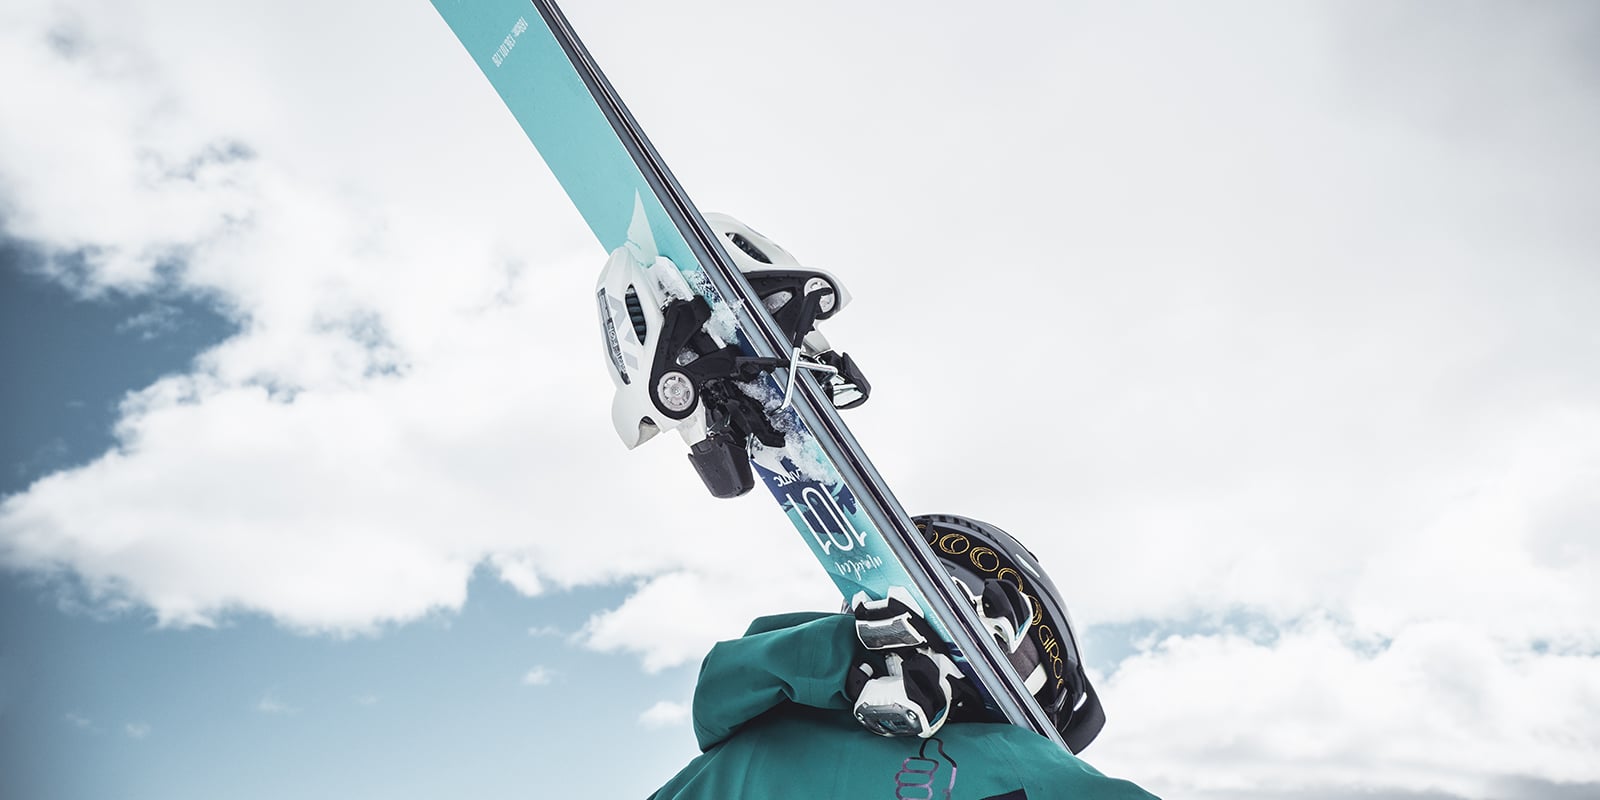
Bindings are the performance link between your boots and your skis. For your safety, they release you from the ski when the pressure exerted on them exceeds their release settings. (Click here to see all Northern Michigan Ski Lifestyle Homes for Sale)
Today's popular integrated ski/binding systems simplify the decision-making process for some. But for those considering a non-integrated system, this article can help narrow your search. (Click here to see Northern Michigan's finest collection of ski-in/ski out vacation rentals)
The Basics of Ski Bindings
The two rules of ski bindings:
- They must be compatible with your chosen boots.
- Never adjust your binding settings yourself. Have a professional do it.
Bindings consist of a toe and heel piece. In a fall, the toe piece releases sideways and sometimes upwards, while the heel piece releases upward or multi-directionally.
Other binding components:
- Ski brakes: When boots are in the bindings, these prongs line up with the sides of the skis, out of the way. When the binding is released in a fall, the prongs flip down and catch the snow to help stop the ski from running away. If buying a wide ski, make sure your brakes are wide enough to fit across the waist of the ski.
- Anti-friction devices (AFDs): These metal or Teflon® pads mount on the ski under the forefeet. The AFD allows the boots to slide easily out of the bindings when the toe pieces release.
- Lifter: This material under the binding is designed to boost edge hold. It's more of a race feature these days, enabling the number of actual edge angles before a skier "boots out" or has boot sides touching snow. See details below.
Check out this video for a look at the Skiing Lifestyle
Integrated Bindings
These are designed for a specific pair of skis and are packaged as a system. Integrated bindings are primarily available on all-mountain and all-mountain wide skis. These bindings are often desirable because they tend to flex more naturally, facilitate better edge-hold and allow easy turning.
The bindings you buy should match your skill level. Here's how this translates to bindings:
- Beginner and intermediate: You are cautious to a moderate skier (Type 1 or 2). You don't need the highest release setting or the most lightweight or impact-resistant materials. You can save money, but still stay safe, by going with a lower-end to mid-range model. The exception: If you're a heavy person, you'll need a higher release setting and may need to purchase up to the next level of bindings.
- Advanced: You are an aggressive skier (Type 3). You plan to push it, so you probably require a higher release setting. Lightweight, bomber bindings made with performance metals such as titanium enhance your skiing at high speeds and on steep terrain.
- Juniors: Kids' bindings have lower release settings than adult bindings. While made to accommodate kid-specific boots, some bindings are designed to work on adult sizes as well.
Comparing Bindings
Intermediate vs. Advanced Models
- Intermediate: For value-minded skiers who put a priority on ease of entry.
- Advanced: Usually higher in price, with added features typically important only to sophisticated skiers, such as longer retention and travel before release. Wider bindings usually fall into this category. Often with higher DIN (release settings; see below) and beefier construction due to the higher forces exerted on them.
Release Settings (DIN)
A binding's ability to release at the right moment is as important as its ability to hold you the rest of the time. Release settings are often referred to as DIN (short for Deutsche Industrie Norm), a set of German standards that have long been used by the ski industry. Note: A few manufacturers use the ASTM (American Society for Testing and Standards) equivalents.
Release settings (whether DIN or ASTM) are based on your height, weight, age, skier type, and boot sole length. The lower the number, the less force a binding needs to release. All bindings offer a range of release settings (usually 3 to 10 for intermediate models and up to 14 or 16 for advanced models).
Many words could be used to explain the rationale and complexities of DIN settings. The smartest, briefest guidance we can offer on the topic is this: Never attempt to adjust your bindings or your DIN on your own. Leave the task to a professional.
Adjustment Range
This spec gives an indication of what size boots will fit into the bindings. Bindings with a large adjustment range will fit a wide range of boot sizes. This is most often a factor in kids' bindings.
Lifters
Some bindings come with lifters that stiffen the ski under the boot and add leverage for better edge angle and response. Lifter materials may also help dampen ski vibration on the snow, absorb shock on landings and boost the energy transfer from the foot to the ski's edge. The Marker brand says their research shows that a lift of 11 to 12mm is optimal for 95% of the skiing population. Too much lift, however, makes skis heavier and less versatile.
Not everyone wants or needs lifters. Some powder skiers prefer little or no lift, so their skis are more stable when going straight at speed. Similarly, terrain park skiers require little or no lift for jumping, landing, or skiing backward.
Mounting and Setting
Mounting
Where exactly the binding is mounted on the ski affects performance. Most ski manufacturers recommend a mounting position, and a qualified ski shop will mount them as suggested. The farther back the binding is mounted, the stiffer and less "turny" the ski feels. Because women's center of gravity is farther back than men's, their bindings are often mounted slightly forward of center. Park and pipers also tend to prefer a forward mount.
Setting
After purchase, your bindings should have their release settings (DIN or ASTM) set and tested by a certified technician. As noted earlier, this setting is based on your height, weight, age, skier type, and ski-boot-sole length. The technician will have you fill out a form to answer these questions. Have this done at the beginning of each season or every 20 days of skiing?
Important: We cannot guarantee release in all conditions and circumstances.
These activity-specific bindings are used primarily in the backcountry:
- Randoneé: Free-heel movement for climbing; locked setting for descents. Can release at toe and heel. (Some are DIN certified and some are not.)
- Telemark: For full-time free-heel movement, on climbs and descents. (Example shown at right.) The binding usually does not release.
Tips on Use
- Stand on a level patch of snow. If you're on a slope, stand sideways to the fall line and put your downhill ski on first for balance.
- Use your ski pole to tap excess snow off of your boot soles.
- Align the boot toe with the toe piece and the boot heel with the heel piece and step down into the binding until it clicks in.
- To get out, push your ski pole down on the indentation on top of the heel piece until it springs open and lift your foot up and out.
Tips on Maintenance
- Have your skis tuned and bindings inspected by a ski technician before each ski season. Bindings can't be tuned and are maintenance-free. They can only be adjusted for release settings and inspected/tested.
- Keep the AFD (anti-friction device) clean and replace it immediately if it gets damaged.
- Do not attempt to wash out your bindings at the end of the season, as this can remove the factory lube. Only a certified technician should work on bindings.
- Store your skis in a warm, dry place in the off-season.
Ready to invest in Northern Michigan real estate? Register today with Brook Walsh Home Search. For more Northern Michigan real estate info, contact Brook Walsh today!
Posted by Brook Walsh on
Leave A Comment